Bag H:
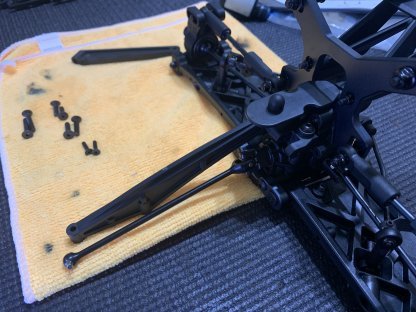
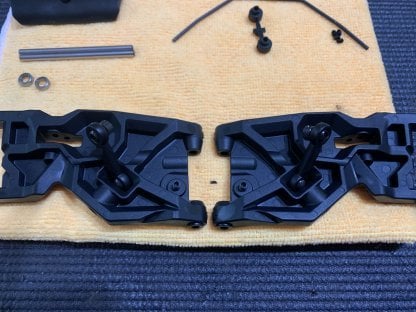
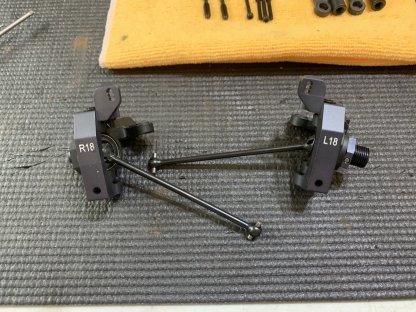
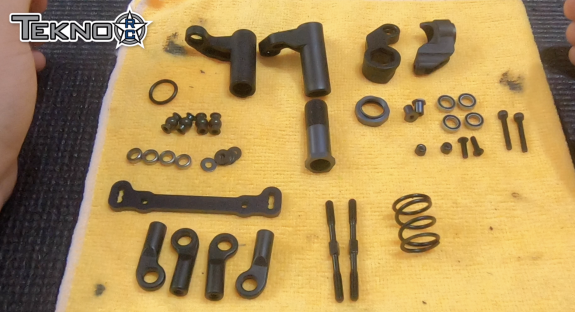
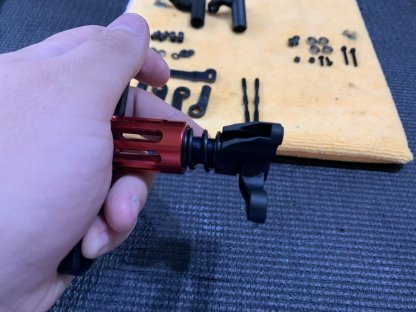
Bag H were the front arms and sway bars. This is where you see the amount of angle built into the arm which makes it much easier to have different caster block options. The car comes with 18 degree blocks with a 15 degree option. 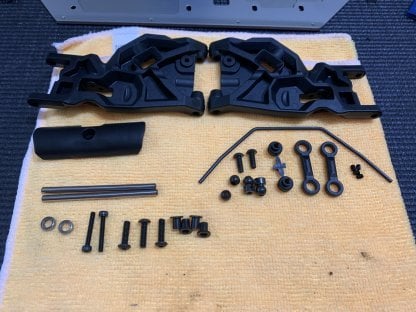
As we talked about with the rear end, the B block is keyed normally with two screws through the gear box. The a block is held through one screw in the front of the gear box and two screws through the chassis. It is different than the .4 for sure but it is super secure ultimately.
Bag I:
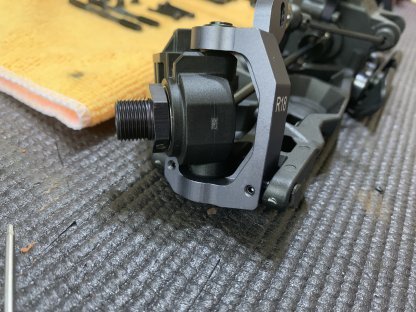
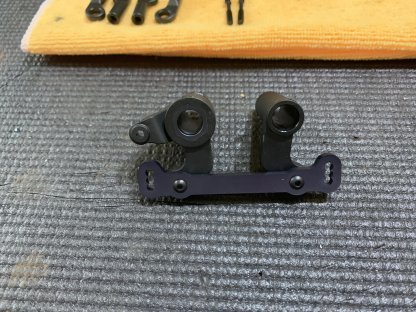
Bag I is the front caster blocks, CVD's and camber link. In my personal opinion I am really happy to see an aluminum caster block as a standard part as well as CVD's which I think most drivers will be running in most cases. Again, I recommend using heavy metal grease when building the CVD's.
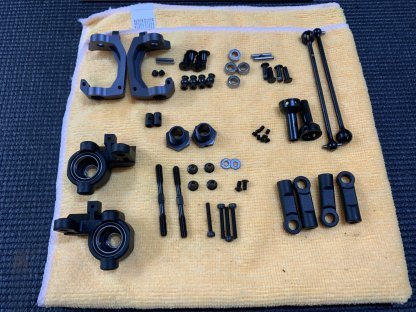

We do recommend using the steering stop screw with no shims behind it on the spindle. 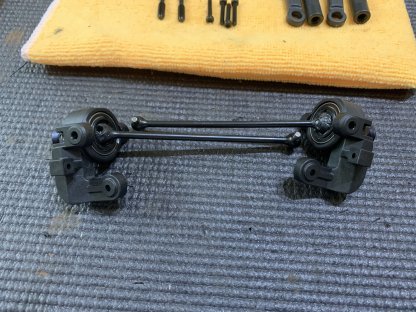
Make sure to use locktite on the set screws holding the king pins for the caster blocks to the arm. Set screws have a tendency to back out in aluminum without locktite.
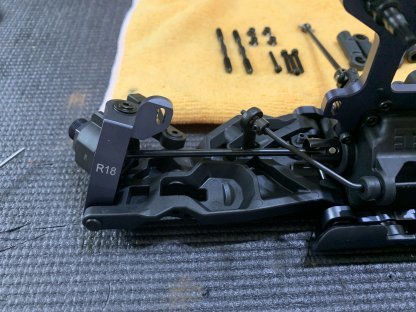
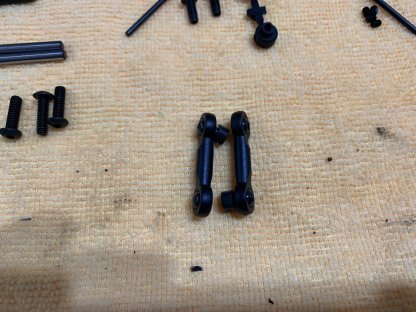
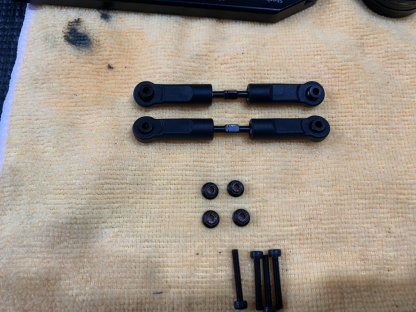
Just like on the rear end, really happy to see flanged nuts holding the camber links on both sides making the car more durable under hard crashes. The revised tie-rod ends again feel super free and it's definitely nice not needing any sort of file or reamer for the arms.

Bag J:
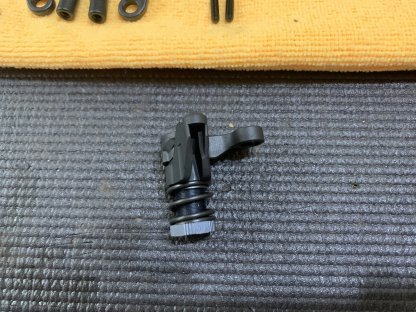
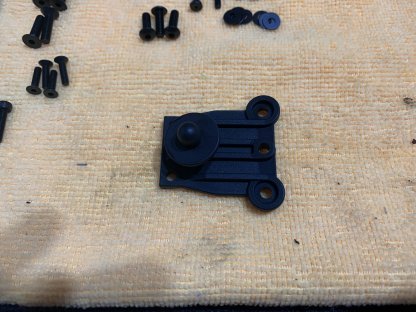
Bag J is time for the steering rack. We now have a reversible steering rack plate which makes for more options. Pretty cool option to have.
Seriously didn't know or realize that you could use a wheel nut wrench to install the servo saver nut, but keep that in mind because it makes it super easy, and make sure to add a dab of locktite to the nut also.
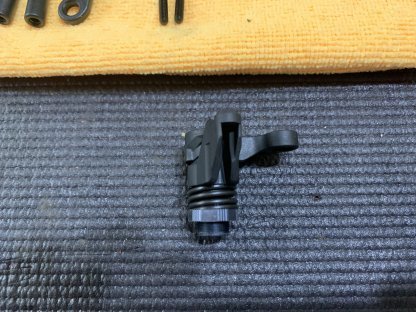
Really make sure to pay attention to the directions and add locktite wherever it says to. It is really important. The rack from this point goes together really closely to any other Tekno kit.

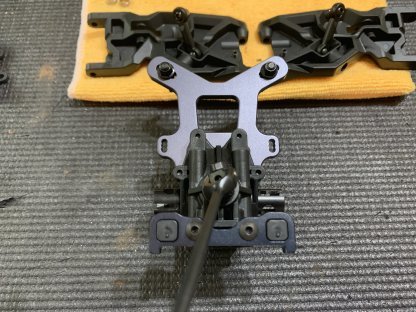
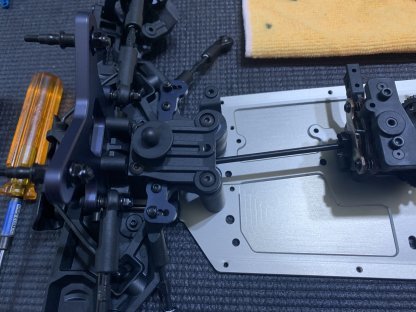
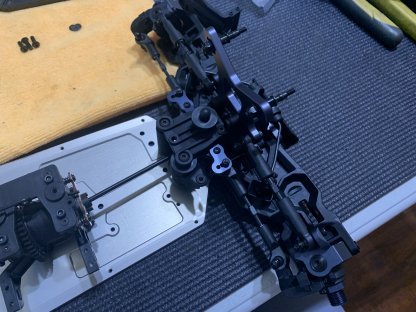
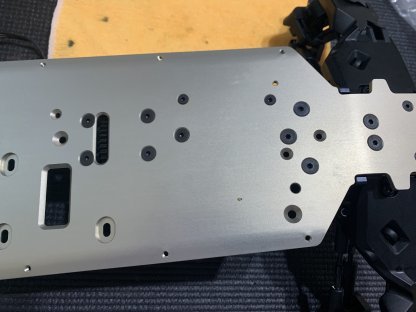
Bag K:
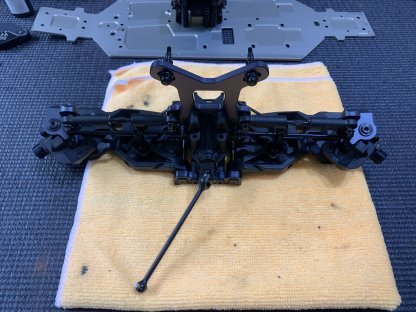
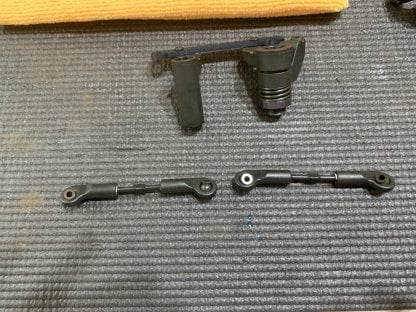
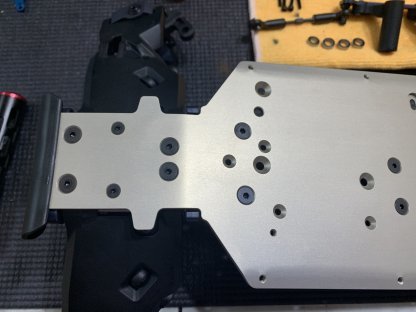
Bag K is where we finally put most of the parts on the chassis. This was also the only step so far where I deviate from the manual at all. I do this because the steering rack rods that go into the chassis are keyed, and I think it is way easier to install them first than to put the steering rack on the front end first. Then install the front end onto the chassis. Also the two M3 screws that go into the chassis at the front and rear are really cool because they stop the gear box from warping over time.
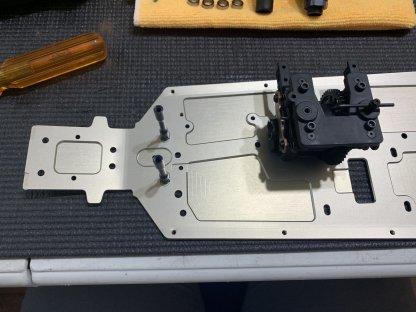
Then install the steering rack and the top plate and you don't have to make sure the rods are facing a certain direction or stripping anything. 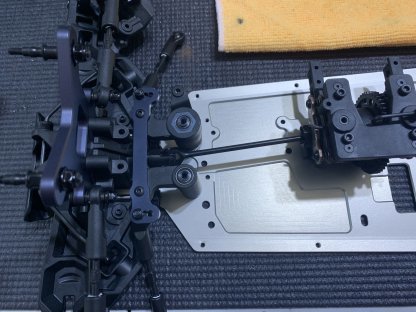
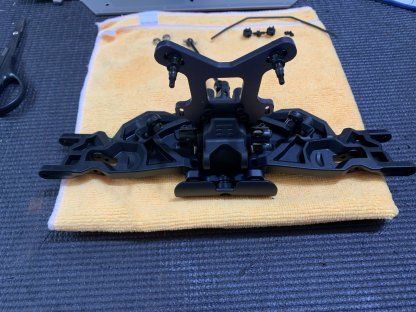
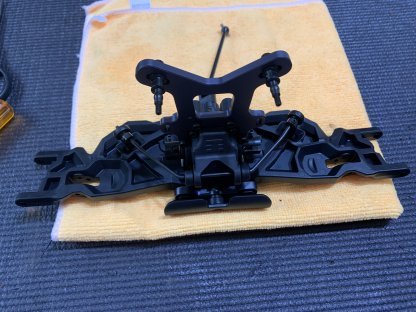
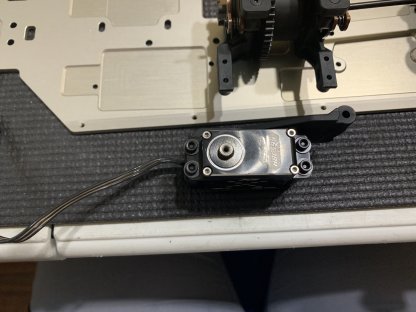
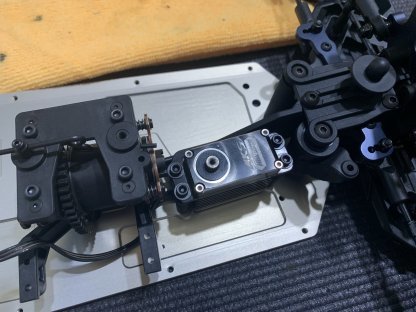
Alright now back to the regularly scheduled manual lol. The radio tray is in multiple pieces so the steering servo goes in at this point by itself.
Last part is to put the rear chassis brace on and to put the rear end on the car. It goes on just like the front minus the steering rack.