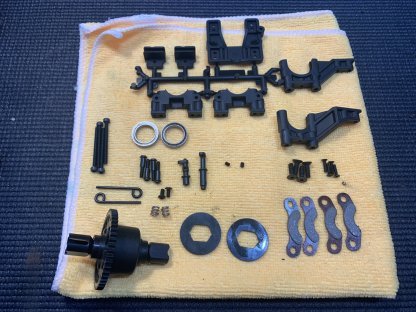
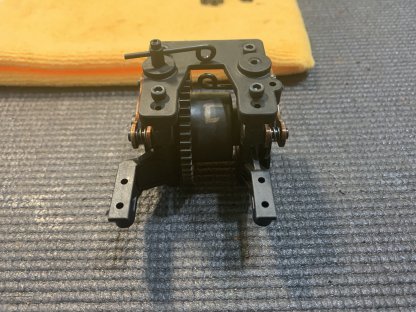
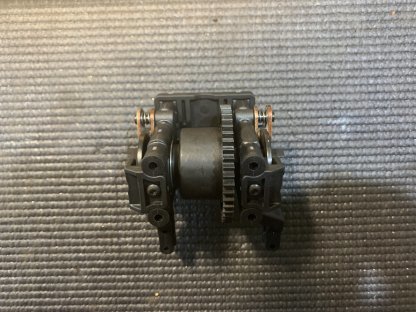
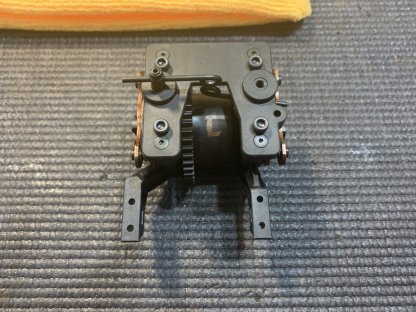
Bag D:
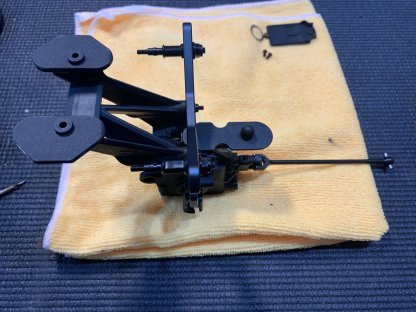
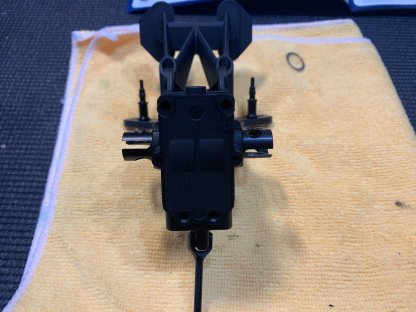
Bag D is the rear gear box build, this is super similar to bag C with the shock tower and wing mount being the major differences. Same tools used as in bag C.
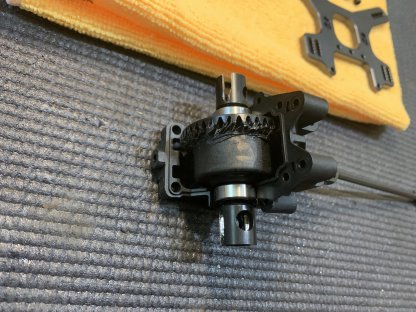
Make sure to install the shim on the outside of the gear box where the universal attaches to the pinion gear. Then as explained before add locktite then use a compressor to blow out the excess.
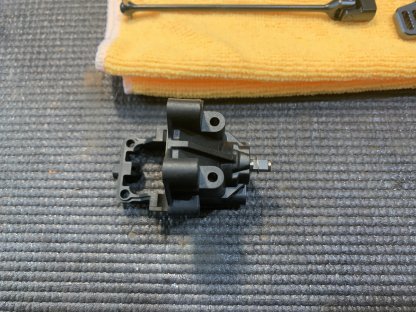
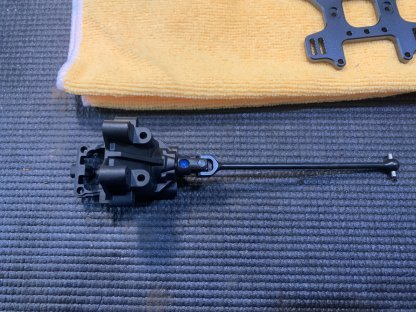
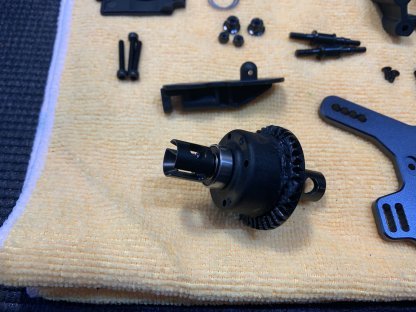
Again use heavy metal grease on the ring gear. For the rear gear box I again didn't have to use any shims when installing the diff into the gear box but there is a chance each is a little different so make sure to check them when installing.
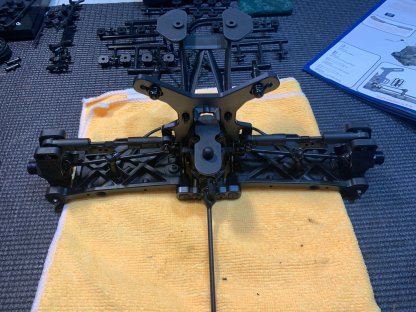
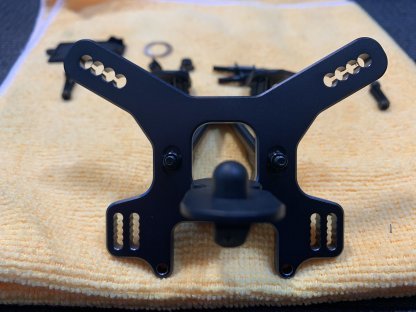
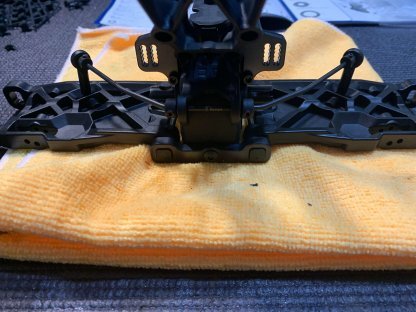
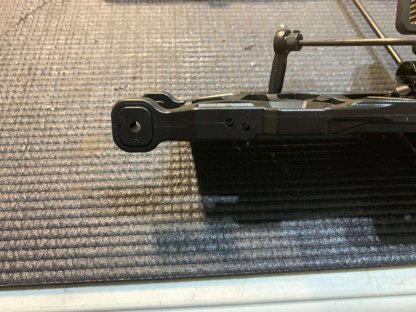
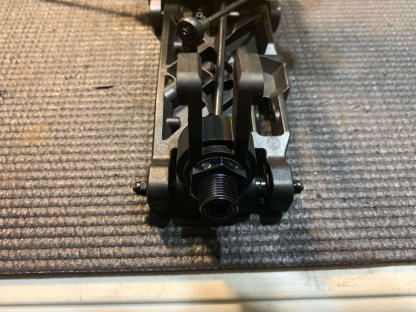
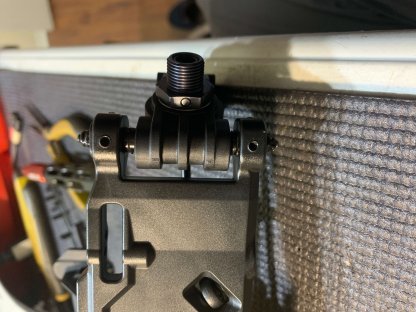
The rear body mount is extended which should make the bodies last longer. The wing mount is one piece now and has a much larger horizontal area where the wing sits which will stop the mount from warping over time. The standoffs are again the new design where the bushing is attached to the cap, but unlike the front standoffs these are +4mm to add a little bit of an angle to the rear shocks.
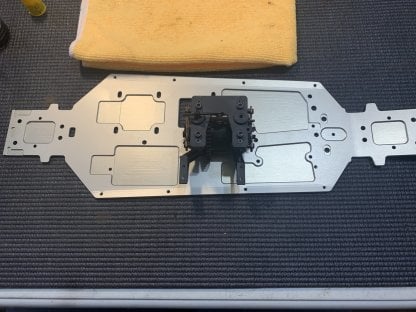
Bag E:
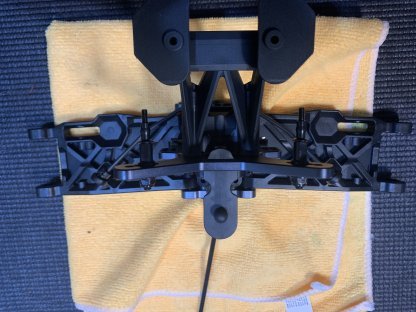
Bag E is the Center Diff Mount and everything else required to bolt the center diff to the chassis.
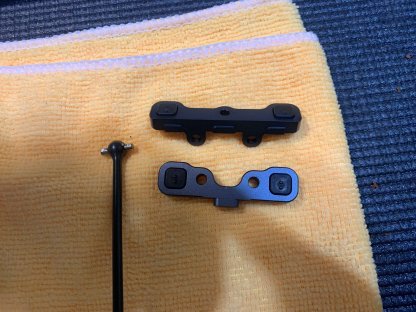
The brake pads now have chassis guides which is new for the NB48 2.0, also new are larger brake pads which help create a more consistent feel with less fade. The center top plate has a much larger footprint and helps create the ability for a two piece center mount making it much easier to get the center diff out for maintenance.
Once the mount is complete it now only takes 4 screws to get the center diff out. It is easier once installed to remove the servo horn also.
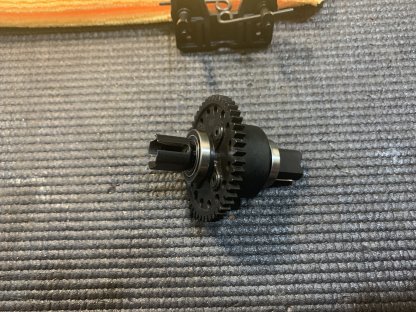
Once completed this is the first part that is then attached to the chassis. The chassis is wider than previous versions and is now 3mm.
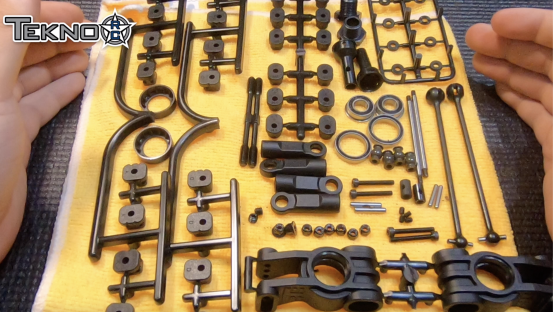
Bag F:
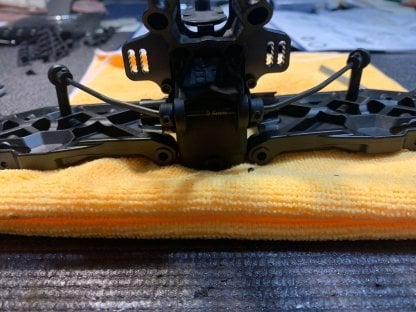
Bag F is the new rear arms, C and D blocks, and the sway bar installation for the rear of the buggy.

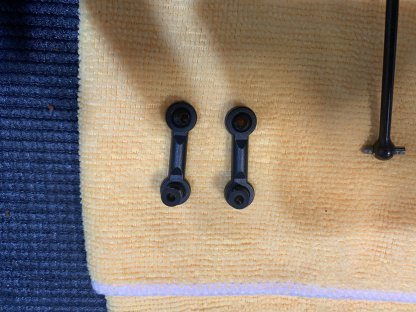
The C and D blocks are a lot narrower which requires a new wider arm. The sway bar links are also longer.
The sway bar mounts very similarly to the .4. Install the bearings into the gear box. Then insert the sway bar and use the guides to lock it in place.
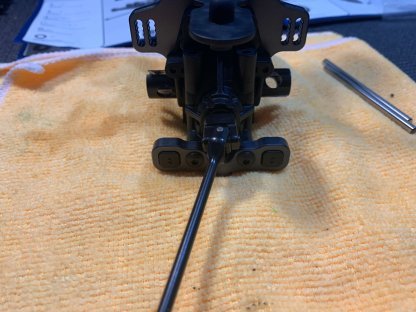
When attaching the D block I have seen some people concerned that it only has one screw holding it in, but it goes underneath the gear box and is held in place by two screws underneath also.
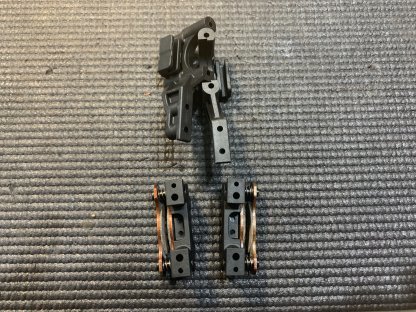
Bag G:
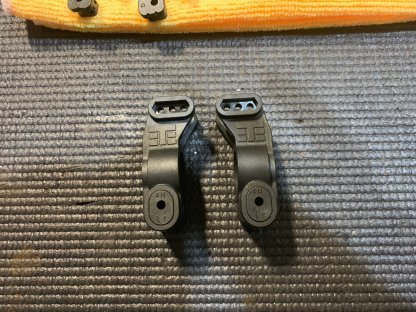
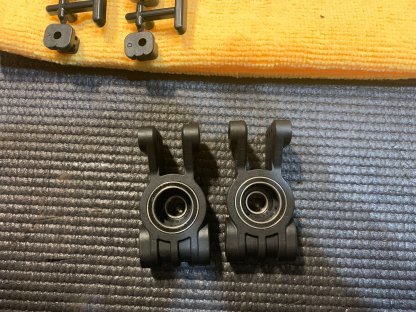
Bag G was the last bag tackled for today's blog and that includes the rear hubs and camber link.
The 2.0 uses a new outer rear bearing on the hub and comes standard with CVD's at the axle instead of universals. The first photo also highlights the new hub height adjustments. I also recommend using a bit of heavy metal grease on the outdrives.
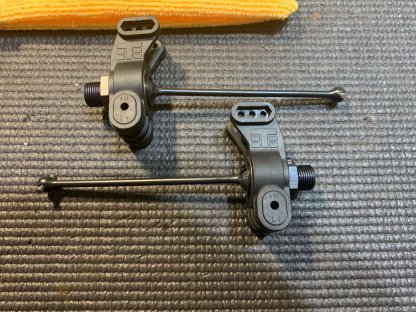
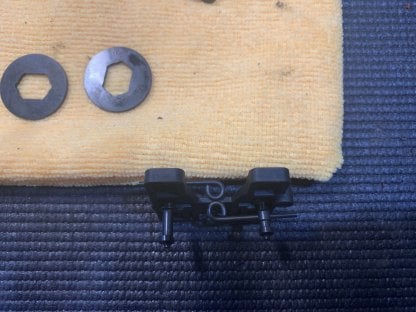
Next up is to get the hubs installed on the arms which means installing the new arm inserts which control static and active toe. The kit calls for A inserts which are 0 degrees of static or active toe which I recommend in most cases. The inserts are also captured using set screws in the arms, make sure to not over tighten these.
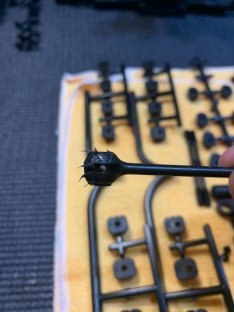
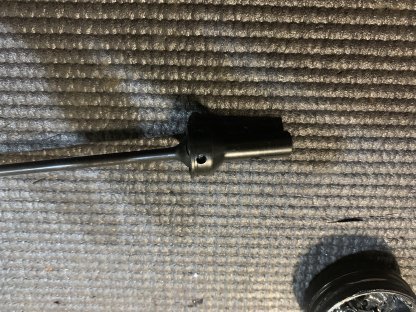
Finally install the camber links in the rear. The tie-rod ends have been refined and are super free when installed.
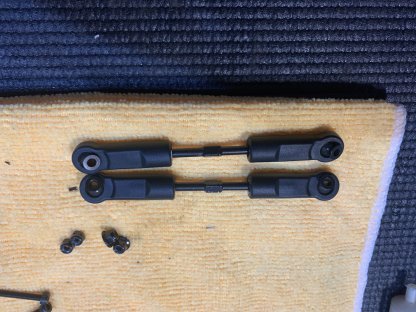
Small but appreciated detail, the nut that holds the camber link onto the tower is flanged which makes it much more difficult for the link to pop completely off the car under strain allowing drivers more peae of mind in longer mains.