Bag A:
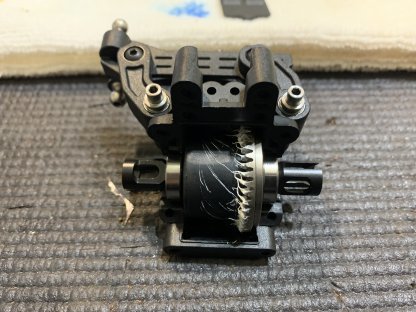
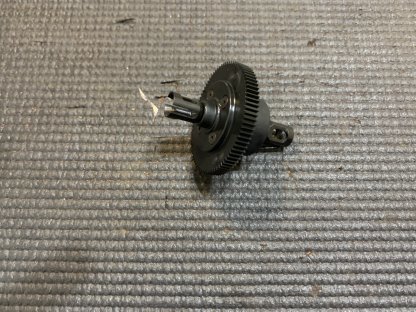
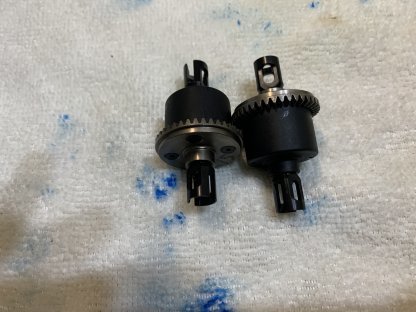
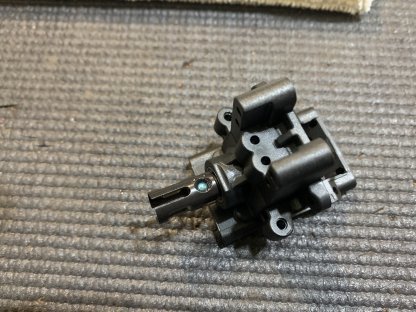
Bag A is the center differential on the new EB410.2 and the only change to the center diff is a new spur gear which makes it much easier to set gear mesh.
Make sure to use grease on the diff o-rings and outdrives. Also allow the diff fluid to settle before you close it up to get rid of bubbles and make sure the fluid level is correct. Don't fill the diff up above the upper crown gear.
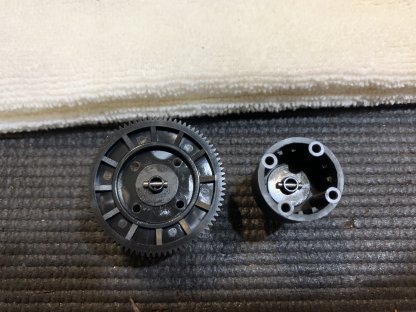
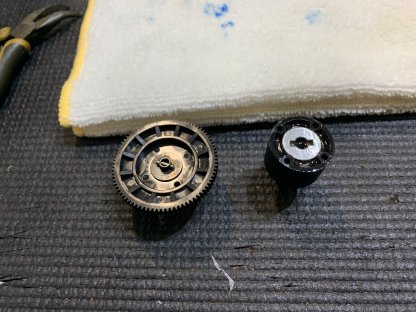
The spur gear is physically more shiny, having used it before in prototype form it is definitely easier to use. Way easier to set gear mesh.
Bag B:
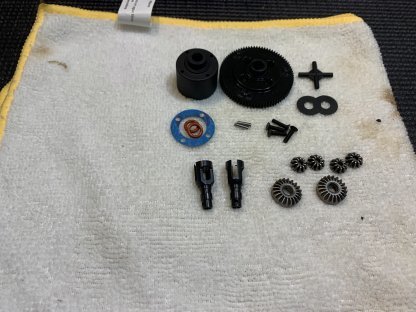
Bag B is the front and rear differential. This was the first time I deviated from the kit setup, but unless you are going to be running on a super low bite surface like I am I would just stick with the kit setup. I used 7k in the rear diff instead of 10k but that was all. Bag B is the same as the original kit, the front and rear differentials were not changed.
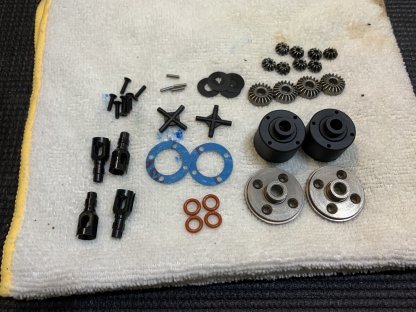
As with Bag A, make sure to use grease on the o-rings and outdrives, check the fluid levels, and don't over fill the differentials.
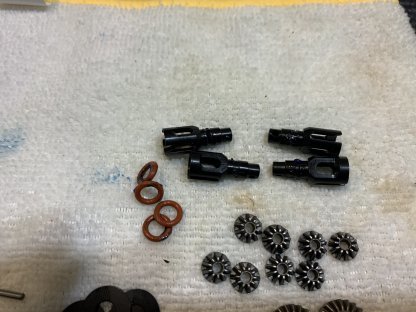
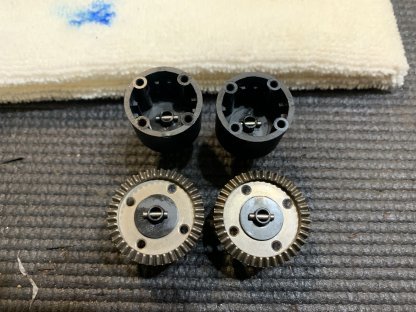
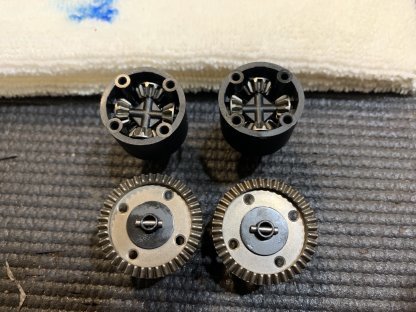
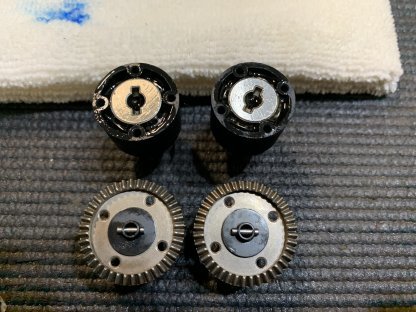
Beyond that the ring gear is a tight fit on the diff cup so make sure it is set properly before screwing it on.
Bag C:
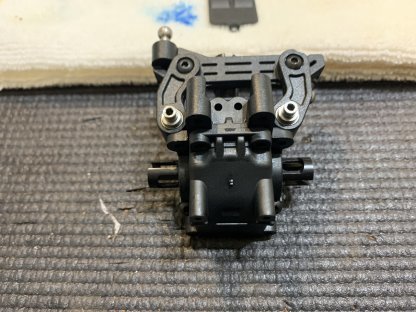
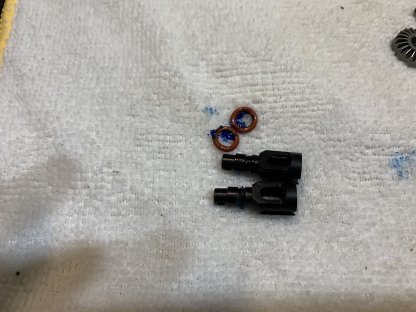
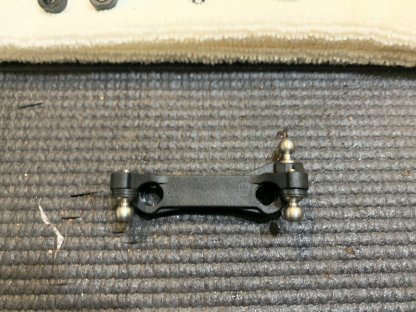
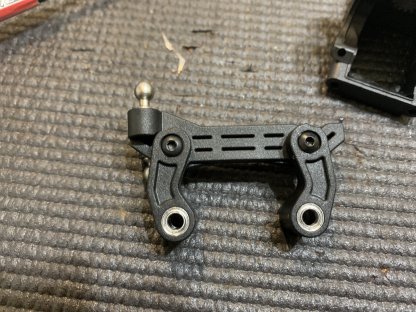
Time to build the front bulkhead and steering rack. This kit includes the revised bulkhead and keyed A/B blocks that were introduced after the release of the kit. The steering rack has now been revised a 2nd time and the rack is now attached to the arms using a screw through the top on each side which makes it to where you can't strip the bell cranks. The steering posts are also now threaded for a 2mm hex driver so you can be much more precise when installing them. The new rack is even smoother and has less slop.
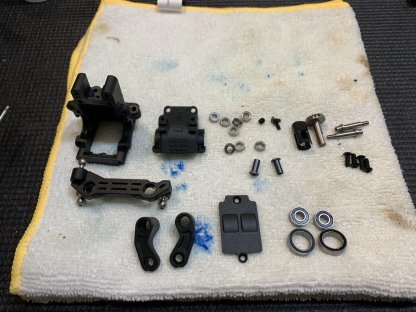
Make sure to use loctite into the screw hole in the front diff coupler to make sure that it has a firm hold on the bevel gear.
You can see here where the steering rack is now attached from the top, and the steering posts have 2mm hex holes.
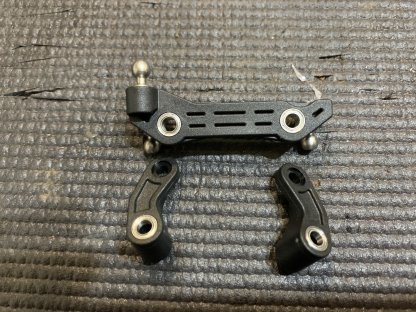
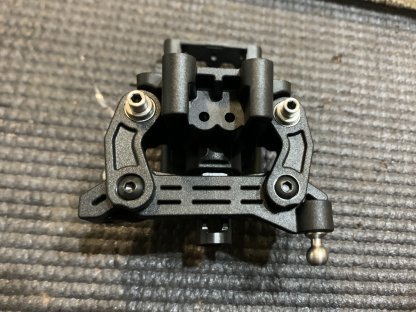
I used white grease on the ring gear for the differentials.