~ Preparation before assembly ~
00:00 Removing parts
00:51 Check parts
01:21 Read the note
01:35 Put the parts in the box
02:25 See instructions
02:40 What you need for assembly
03:10 How to use nipper
04:06 How to use the driver
04:34 How to find parts to use
~ Mini 4WD assembly started! ~
05:58 [1] Assembling the body
07:12 [2] Paste body sticker
07:50 [3] Chassis assembly (roller & skid)
10:15 [4] Assembly of the chassis (tires and wheels)
13:10 [5] Installing the battery bracket (front side)
14:27 [6] Mounting of switch bracket (rear side)
15:55 [7] Installation of pinion gear
16:46 [8] Motor mounting
18:23 [9] Installation of counter gear
19:51 [10] Installing the battery
20:50 [11] Mounting the body
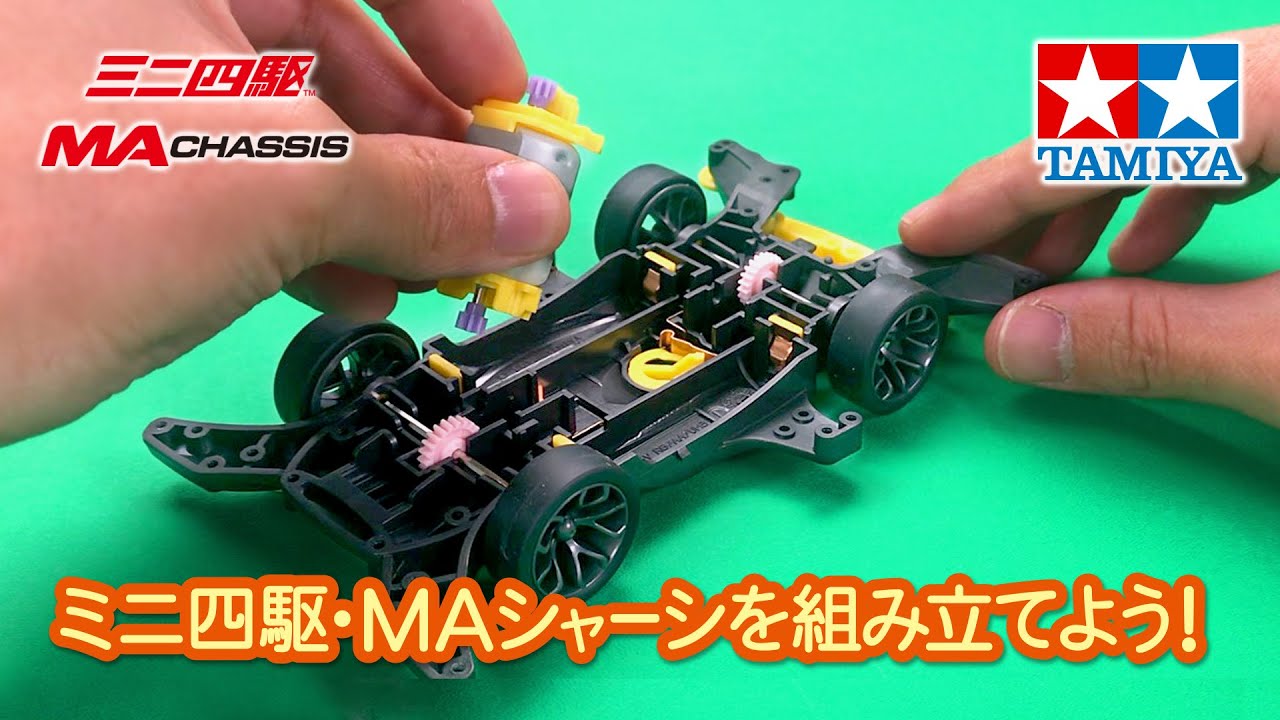
Midship layout (MS chassis) with a motor mounted in the center of the car body, (AR chassis) designed with consideration for airflow (aero) while running, this is a summary of each characteristic in one chassis MA chassis. (MA is an abbreviation for MidshipAERO). The integrated monocoque structure further enhances ease of assembly and maintenance, making it a chassis that can be enjoyed by both beginners and experienced racers.
Mini 4WD MA chassis machine lineup
The post Assembling the Tamiya Mini 4WD MA Chassis video appeared first on TamiyaBlog.


